Flinto Lite Guide
This guide applies to Flinto Lite, for information about our Mac app, go here
Fixed Headers & Footers
Slicers are the feature we invented for creating fixed headers and footers without needing any additional image assets. If you knew how much time we put into making this work perfectly, you might conclude that we’re crazy!
Creating Slicers
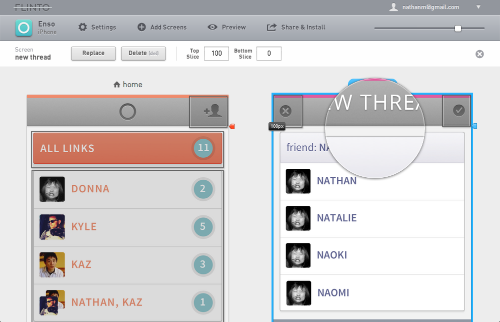
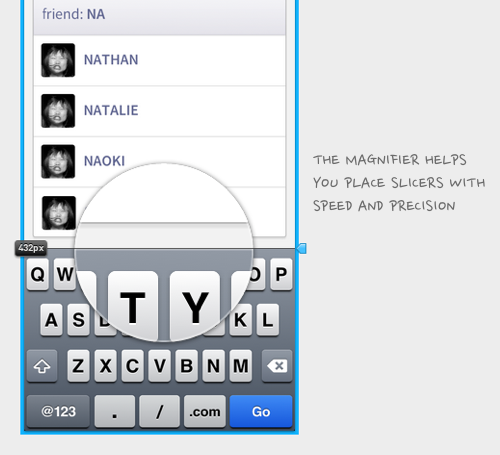
Grab the little red tab next to a screen and drag it into position. Place it just below or above your header or footer. This area will now be fixed in place while the content scrolls underneath.

You can make the header or footer areas transparent when you design the screen. The transparency will be preserved within Flinto allowing you to create semi-transparent headers, or floating buttons.
Precise Positioning
Nudge Slicers one pixel at a time using arrow keys or by holding shift and using the arrow keys to move in 10 pixel increments. You can also type in an exact value in the toolbar.

Multiple Slicers
If you have several screens with the same header, select all of them (or use command + a to select all of your screens) and then adjust the Slicer on one of them. The same Slicer position will be applied to all the screens. Who knew you could set Slicers so quickly?
Slice Snapping
Flinto attempts to read your mind and figure out exactly where you are going to position your Slicer. You may see a small gray Slicer handle. Slicers will snap into position as you drag them near that position. You can also double click on the Slicer handle to jump to that position. Remember when we said you could position Slicers quickly? Now that you’re snapping slicers, that seems like a joke!